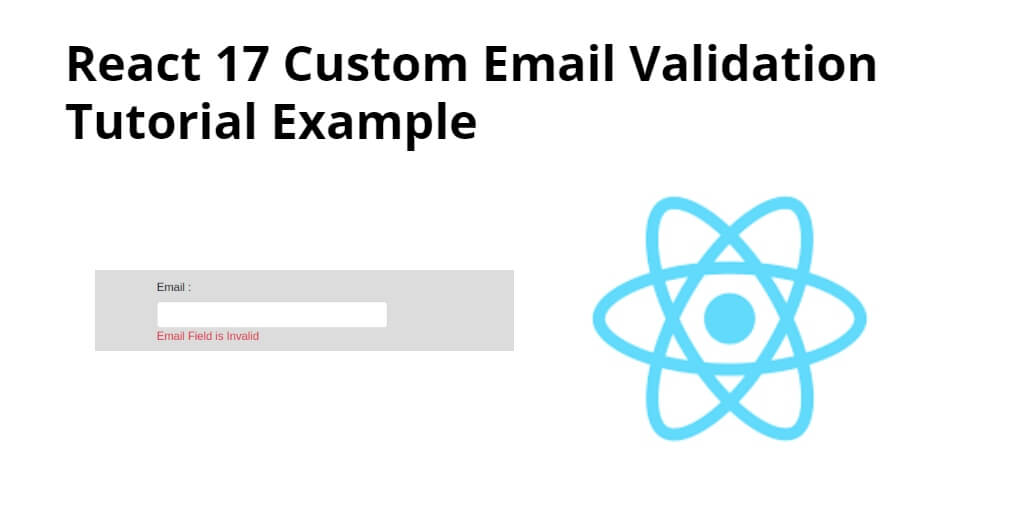
In today’s world, emails have become an essential part of communication. Whether it’s for personal or professional use, emails are the most preferred mode of communication. React JS is a popular framework used to build web applications, and it provides various tools to create interactive UI components. In this tutorial, you will learn how to implement custom email validation in a React JS application.
If you want to add custom email id validation on form submitting in react js app. So this tutorial will create a simple form with an email field with the help of the bootstrap 4 libraries and add custom email validation rules in email field on submitting in react app.
Now in this Email Custom Validation and Handling Form Data in React tutorial will provide you step by step guide on how to add custom email validation in react js app with the bootstrap 4 library.
How to Add Custom Email Id Validation in React js
Use the following steps to add custom email id validation in react js app:
- Step 1 – Create React App
- Step 2 – Install Bootstrap 4
- Step 3 – Create Custom Email Component with Validation
- Step 4 – Add Custom Email Valid Component in App.js
Step 1 – Create React App
In this step, open your terminal and execute the following command on your terminal to create a new react app:
npx create-react-app my-react-app
To run the React app, execute the following command on your terminal:
npm start
Check out your React app on this URL: localhost:3000
Step 2 – Install Bootstrap 4
In this step, execute the following command to install bootstrap 4 library into your react app:
npm install bootstrap --save
Add bootstrap.min.css file in src/App.js file:
import React, { Component } from 'react'

import '../node_modules/bootstrap/dist/css/bootstrap.min.css';

function App() {
  return (
    <div>
      <h2>How to Add Custom Email Validation in React</h2>
    </div>
  );
}

export default App;
Step 3 – Create Custom Email Component with Validation
In this step, create EmailValidation.js file. So, visit the src directory of your react js app and create a custom email validation component file named EmailValidation.js. And add the following code into it:
import React from 'react'

const defaultState = {
    email:null,
    emailError:null
}

class EmailValidation extends React.Component{

    constructor(){
        super();
        this.state = defaultState;

        this.handleInputChange = this.handleInputChange.bind(this);
    }

    handleInputChange(event) {
        this.setState({
            email : event.target.value
        });
    }

    validate(){
        const reg = /^\w+([\.-]?\w+)*@\w+([\.-]?\w+)*(\.\w{2,3})+$/;
        if(!this.state.email || reg.test(this.state.email) === false){
            this.setState({emailError:"Email Field is Invalid"});
            return false;
        }
        return true;
    }

    submit(){
        if(this.validate()){
            console.warn(this.state);
            this.setState(defaultState);
        }
    }

    render(){
        return(
            <div>
                <div className="row">
                    <div className="col-md-6 offset-md-3">

                        <h3>React Custom Email Validation</h3><br />

                            <div className="form-row">
                                <div className="form-group col-md-6">
                                    <label>Email :</label>
                                    <input type="email" className="form-control" name="email" value={this.state.email} onChange={this.handleInputChange} />
                                    <span className="text-danger">{this.state.emailError}</span>
                                </div>
                            </div>

                            <div className="form-row">
                                <div className="col-md-12 text-center">
                                    <button type="submit" className="btn btn-primary" onClick={()=>this.submit()}>Submit</button>
                                </div>
                            </div>

                    </div>
                </div>
            </div>
        )
    }
}

export default EmailValidation;
Note that, The validate() function check email field validation.
Step 4 – Add Custom Email Valid Component in App.js
In this step, you need to add EmailValidation.js file in src/App.js file:
import React from 'react';

import '../node_modules/bootstrap/dist/css/bootstrap.min.css';

import EmailValidation from './EmailValidation'

function App() {

  return (
    <div className="App">
      <CustomFormValidation />
    </div>
  );
}

export default App;
Conclusion
React custom email validation example; In this tutorial, you have learned how to add a custom email validation rule with forms in react js apps.
