Install PHP MySQL on ubuntu ec2 instance. Here we will show you step-by-step on how to install PHP MySQL on ubuntu 18.04 AWS EC2.
Install phpmyadmin On Ubuntu Amazon EC2
Use the following steps to install, configure and access phpmyadmin on ubuntu amazon ec2 server:
- Connect Your AWS EC2 Instance from SSH
- Install phpmyadmin amazon ec2 ubuntu
- Configure phpmyadmin in ubuntu ec2
- Enable MySQL root Login for phpmyadmin ubuntu aws
- Access phpmyadmin Amazon ec2
- Restart Apache Web Server
Step 1 – Connect Your AWS EC2 Instance from SSH
First of all, you need to connect your aws ec2 instance from ssh. If you are new to connect aws ec2 instance with windows, ubuntu and mac system. So you can read this tutoiral “How to Connect to ec2 Instance From Putty and SSH Terminal” to connect your ec2 instance from ssh.
Step 2 – Install phpmyadmin amazon ec2 ubuntu
In this step, open your ssh terminal and type the following command to install PHPMyAdmin on ubuntu amazon ec2 web server:
sudo apt install phpmyadmin
When you run this command. Then the selective option available for you on the prompt look like folloiwng:
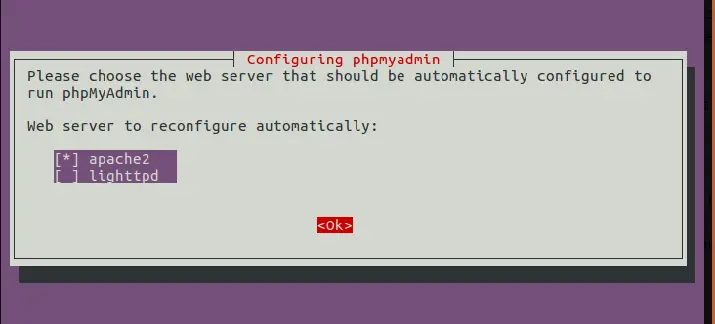
When the first option is appear, you need to select apache2. Now it hasn’t been selected.
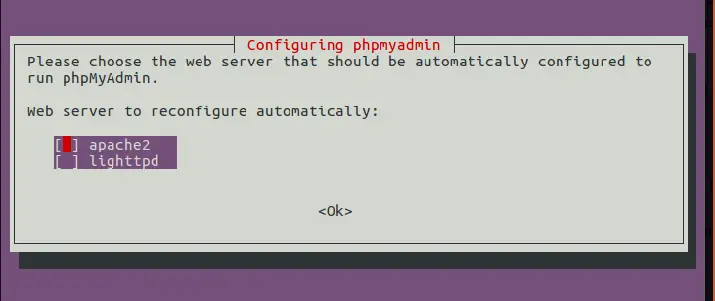
Use space bar to select apache2 web server. Then press Tab key that takes us to the Ok button. After that, press enter.
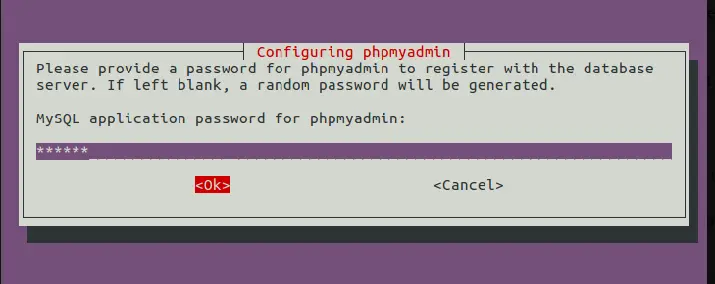
The next option is to configure the database for PHPMyAdmin with dbconfig-common. Select the Yes option here.
After that, password configuration is appear on your terminal screen. And it is asked for login to phpmyadmin. So, you can set your phpmyadmin access password here:
Step 3 – Configure phpmyadmin in ubuntu ec2
In this step, open again your ssh terminal and run the following command to configure phpmyadmin in apache2.conf file:
sudo nano /etc/apache2/apache2.conf
After that, add the following line into apache2.conf file and save it:
Include /etc/phpmyadmin/apache.conf
Step 4 – Enable MySQL root Login for phpmyadmin ubuntu aws
Note that, By default root cannot login as root user through phpMyAdmin.
So, open your ssh terminal and type the following command to enable/allow mysql root login access for phpmyadmin on ubuntu aws web server:
sudo mysql -u root -p
Then type this following query:
ALTER USER 'root'@'localhost' IDENTIFIED WITH mysql_native_password BY 'password';
Note that, Replace password by the root password you entered while installing MySql.
After that type following query to changes into effect:
FLUSH PRIVILEGES;
Step 5 – Restart Apache Web Server
After successfully installed PHP MySQL and configure these on ubuntu amazon ec2 instance.
Finally, You need to restart Apache 2 server by using the following command:
sudo service apache2 restart
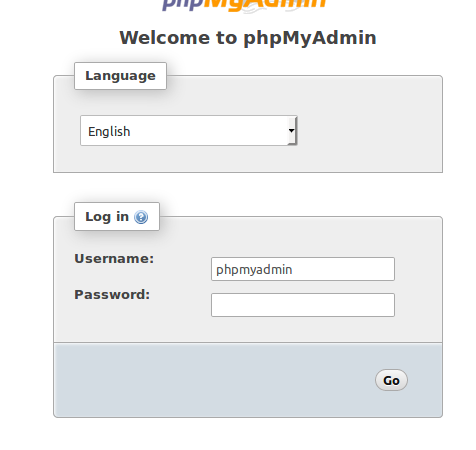
Step 6 – Access phpmyadmin Amazon ec2
Now you can login as root from phpMyAdmin. So, open your browser and type the below url with your ec2 server ip:
http://[SERVER_PUBLIC_IP]/phpmyadmin
Then you will look like on your browser:
Amazing, thanks for this tutorial.
Thank you for an awesome tutorial!