Description
Read More HideThis condominium is strategically located at the gateway to Chroy Changvar, on Street Keo Chenda just one hundred and fifty meters from Chroy Changvar Bridge, and 5 minutes away from the CBD. On top of that, to enhance the residents' comfort and well-being, there are luxurious facilities from the infinity swimming pool and Jacuzzi, Gym and Sauna, Kid's pool and Play Zone, Private kitchen and Patio, and Co-working lab.
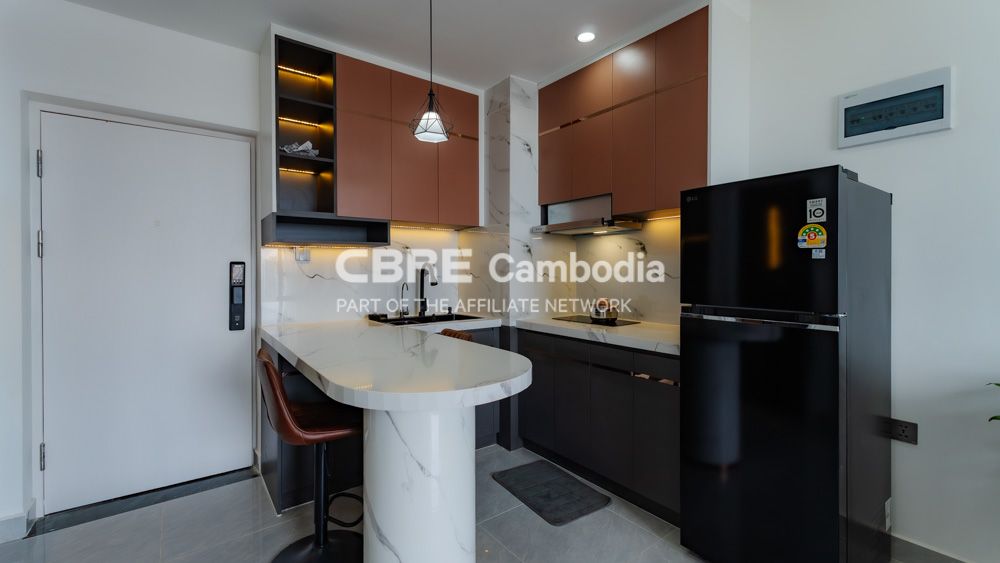
This 2-Bedrooms unit comes with fully furnished homes with built-in cabinets, home appliances, storage room, high-quality furniture & material used, and is upgraded with 3-meter ceiling height.
Key Features of the Unit:
- Full sound insulation of the ceiling
- Double glass windows
- Wooden floor in all rooms, even the wooden TV panel
- Fully equipped spacious kitchen: Extended kitchen island with moving shelves inside, a set of electric stove, microwave, oven, fridge, washing machine, water heater and water filter in the kitchen area.
- Extended wall panels in both bedrooms
Property Details:
- 2-Bedroom | 2-Bathroom | 1-Storage Room | Extra make up room
- Fully Furnished
- 17th floor | 148sqm
- City & Riverview with balcony to the corner
Asking Sales Price: $360,000 includes hard title transfer and fully furnished
Asking Rent: $2,550 per month includes management fee
Overview
-
Property Type:Residential
-
Sub Type:Serviced Apartment/Condominium
-
Unit Size:148 sqm
-
Level:17