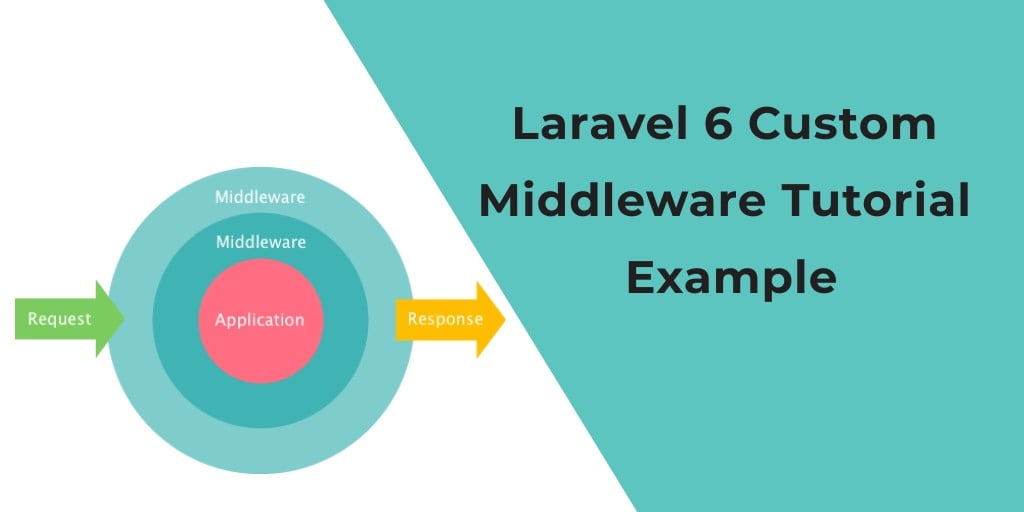
In this laravel middleware tutorial, we will learn how to create custom middleware and how it use in laravel based project. Simply create one custom middleware and check language in query string.
Simply laravel middleware filter all the http request in laravel based projects. For example when user is do any request that time middleware check user is loggedin or not and redirect accordingly. Any user is not loggedin but he want to access to dashboard or other things in projects that time middleware filter request redirect to user.
In this laravel middleware tutorial, we will give a example of active or inactive users. Now we will call middleware in routes to restrict logged user to access that routes, if he/she is blocked by admin.
Laravel Middleware Tutorial
Step 1: Create Middleware
In this step, We have to create custom middleware in laravel based project. So let’s open your command prompt and run below command :
php artisan make:middleware CheckStatus
After successfully create middleware, go to app/http/kernel.php and register your custom middleware here :
app/Http/Kernel.php
<?php


namespace App\Http;


use Illuminate\Foundation\Http\Kernel as HttpKernel;


class Kernel extends HttpKernel
{
    ....


    /**
     * The application's route middleware.
     *
     * These middleware may be assigned to groups or used individually.
     *
     * @var array
     */
    protected $routeMiddleware = [
        ....
        'checkStatus' => \App\Http\Middleware\CheckStatus::class,
    ];
}
After successfully register your middleware in laravel project, go to app/http/middleware and implement your logic here :
app/Http/Middleware/CheckStatus.php
<?php

namespace App\Http\Middleware;

use Closure;

class CheckStatus
{
    /**
     * Handle an incoming request.
     *
     * @param  \Illuminate\Http\Request  $request
     * @param  \Closure  $next
     * @return mixed
     */
    public function handle($request, Closure $next)
    {
        if (auth()->user()->status == 'active') {
            return $next($request);
        }
            return response()->json('Your account is inactive');

    }
}
Step 2: Add Route
In this step, simply we will create a route and use custom middleware here. Filter http every request and protect routes :
 //routes/web.php

 Route::middleware(['checkStatus'])->group(function(){

 Route::get('home', 'HomeController@home');

 });
Step 3: Add Method in Controller
Now we will create one method name language and let’s check :
app/Http/Controllers/HomeController.php
<?php

 namespace App\Http\Controllers;

 use Illuminate\Http\Request;
 class HomeController extends Controller
 {
     public function home()
     {
         dd('You are active');
     }
 }
Conclusion
In this laravel tutorial for custom middleware, We have successfully create custom middleware in laravel based project with simple example. our examples run quickly.
