Angular 14 google places autocomplete using google maps apis. Through this tutorial, we will learn how to integrate google places or address autocomplete in angular 14 Application without showing google maps.
Google Maps is a Web-based service that provides detailed information about geographical regions and sites around the world. In addition to conventional road maps, Google Maps offers aerial and satellite views of many places. In some cities, Google Maps offers street views comprising photographs taken from vehicles.
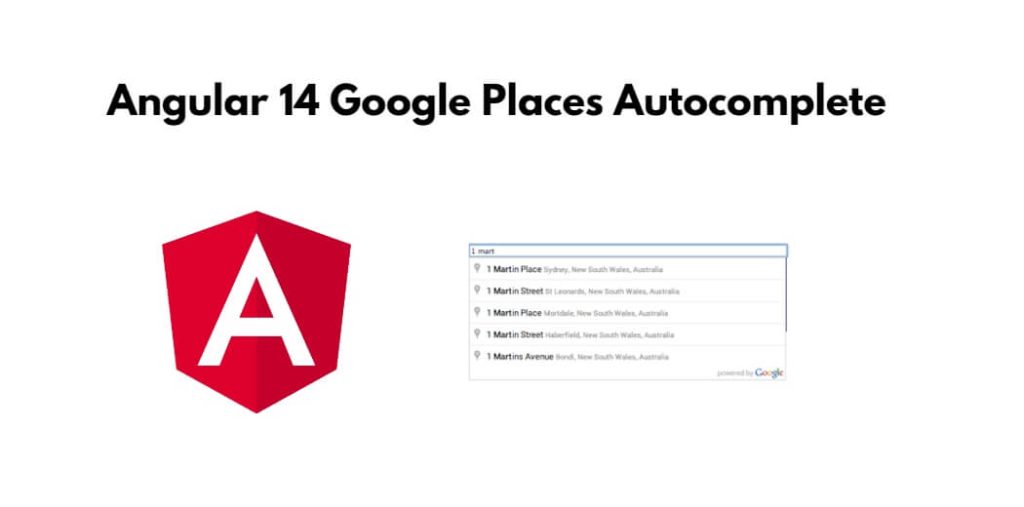
Angular 14 Google Places Autocomplete Example
Use the following steps to create google places or address autocomplete in angular 14 apps without showing maps; as follows:
- Step 1 – Create New Angular App
- Step 2 – Install ngx-google-places-autocomplete
- Step 3 – Get Maps API Key
- Step 4 – Import Modules in Module.ts File
- Step 5 – Create Autocomplete Html in View File
- Step 6 – Import Modules in app.component.ts
- Step 7 – Start Angular APP
Step 1 – Create New Angular App
Execute the following command on terminal to create your angular app using bellow command:
ng new myNewApp
Step 2 – Install ngx-google-places-autocomplete
Execute the following command on terminal to install ngx-google-places-autocomplete; as follows:
For npm:
npm install ngx-google-places-autocomplete
For yarn:
yarn add ngx-google-places-autocomplete
Step 3 – Get Maps API Key
In this step, you need to get google api key; So, first, you have to have the Maps API Key, and you can go here to get the complete instructions.
- Generate an API Key and place that API Key in above script tag in place of <Your API KEY>.
- To Generate an API key follow the below steps:
- Go to https://developers.google.com/places/web-service/get-api-key and follow all the steps to create an API key.
- Enable Places API for your API Key.
- Make sure your API is enabled, to enable your API follow the steps from this link https://support.google.com/googleapi/answer/6158841?hl=en.
- Do necessary imports of GooglePlaceModule in app.module.ts.
Step 4 – Import Modules in Module.ts File
Then visit src/app directory and open app.module.ts file and import the following library into it; as follows:
import { BrowserModule } from '@angular/platform-browser';
import { NgModule } from '@angular/core';
import { RouterModule } from '@angular/router';
import { AppComponent } from './app.component';
import '@angular/compiler';
//import for GooglePlaceModule
import { GooglePlaceModule } from "ngx-google-places-autocomplete";

@NgModule({
declarations: [
	AppComponent,
],
imports: [
	BrowserModule,
	//Adding to imports
	GooglePlaceModule
],
providers: [],
bootstrap: [AppComponent]
})
export class AppModule { }
Step 5 – Create Autocomplete Html in View File
Create autocomplete html in view file; so Open app.component.html file and add the following HTML markup on it:
<div class="container">
	<h1>Tutsmake</h1>
	<h2>Google Places Autocomplete</h2>
<input ngx-google-places-autocomplete [options]=
'options' (onAddressChange)="AddressChange($event)"/>
{{ formattedaddress }}
</div>
And add library to your index.html in src of your project app; as follows:
<script src=”https://maps.googleapis.com/maps/api/js?key=<Your API KEY>&libraries=places&language=en”></script>
Step 6 – Import Modules in app.component.ts
Visit src/app direcory and open app.component.ts file and import the following modules into it; as follows:
import { Component } from '@angular/core';

@Component({
selector: 'app-root',
templateUrl: './app.component.html',
styleUrls: ['./app.component.css']
})
export class AppComponent {
title = 'rou';
//Local Variable defined
formattedaddress=" ";
options={
	componentRestrictions:{
	country:["AU"]
	}
}
public AddressChange(address: any) {
//setting address from API to local variable
this.formattedaddress=address.formatted_address
}
}
Step 7 – Start Angular APP
Run the application using ng serve –o and you should see Google autocomplete search in your browser.