React-bootstrap textarea value example; In this tutorial, you will learn how to use bootstrap textarea with set value in state with react js apps.
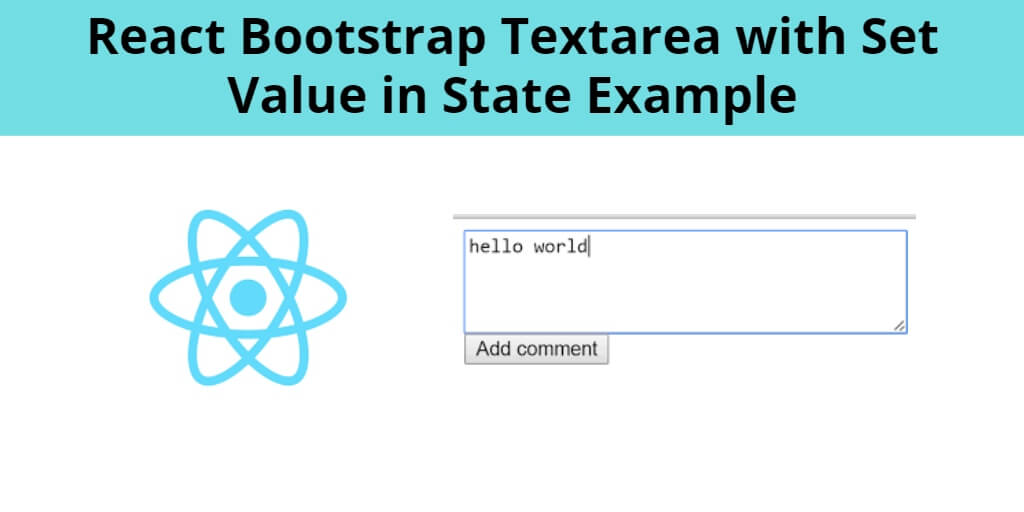
React Bootstrap textarea is an input dedicated for a large volume of text. It may be used in a variety of components like forms, comment sections and forums. Textareas don’t have to be boring. They can be enhanced with colors, shadows or rounded corners.
React-bootstrap has some attributes like height width. Textarea is by default autosize; But you can set minimum height and width of textarea in react using react-bootstrap.
Now in this how to use react -bootstrap textarea with value in react tutorial will provide you step by step guide on how to integrate bootstrap textarea in react js app with the bootstrap 4 library.
How to use React Bootstrap Textarea with Value
- Step 1 – Create React App
- Step 2 – Install React Bootstrap
- Step 3 – Create TextArea Component
- Step 4 – Improt TextArea Component in App.js
Step 1 – Create React App
In this step, open your terminal and execute the following command on your terminal to create a new react app:
npx create-react-app my-react-app
To run the React app, execute the following command on your terminal:
npm start
Check out your React app on this URL: localhost:3000
Step 2 – Install React Bootstrap
In this step, execute the following command to install react boostrap library into your react app:
npm install bootstrap --save

npm install react-bootstrap bootstrap
Add bootstrap.min.css file in src/App.js file:
import React, { Component } from 'react'

import '../node_modules/bootstrap/dist/css/bootstrap.min.css';

function App() {
  return (
    <div>
      <h2>How to refresh a Page in React</h2>
    </div>
  );
}

export default App;
Step 3 – Create TextArea Component
In this step, create BootstrapTextarea.js file. So, visit the src directory of your react js app and create a simple form component file named BootstrapTextarea.js. And add the following code into it:
import React from 'react'
import Form from 'react-bootstrap/Form'

class BootstrapTextarea extends React.Component{

    constructor(){
        super();
        this.state = {
            address:null
        }

        this.handleInputChange = this.handleInputChange.bind(this);
    }

    handleInputChange(event) {
        this.setState({
            address: event.target.value
        });

        console.warn(this.state)
    }

    render(){
        return(
            <div>
                <Form>
                    <Form.Group controlId="exampleForm.ControlTextarea1">
                        <Form.Label>Example textarea</Form.Label>
                        <Form.Control as="textarea" rows="3" name="address" onChange={this.handleInputChange} />
                    </Form.Group>
                </Form>
            </div>
        )
    }
}

export default BootstrapTextarea;
Here’s a breakdown of what the above given code does:
import React from 'react'– imports the React library that allows us to create components and manage their state.import Form from 'react-bootstrap/Form'– imports the Form component from the React Bootstrap library, which provides pre-designed form components that are styled with Bootstrap CSS.class BootstrapTextarea extends React.Component{...}– defines a new class called BootstrapTextarea that extends the React Component class. This class will serve as the blueprint for creating new instances of the component.constructor(){...}– initializes the component’s state with a single property called “address” that is initially set to null. The constructor also binds the handleInputChange method to the component instance so that it can be called later.handleInputChange(event) {...}– updates the component’s state with the value of the textarea input whenever it changes. The new value is accessed through the event object passed to the method.render(){...}– defines the component’s user interface. It returns a div element containing a Form component with a single Form.Group child element. The Form.Group element contains a Form.Label and a Form.Control element, which represents the textarea input. The Form.Control element is configured to call the handleInputChange method whenever its value changes.export default BootstrapTextarea;– exports the BootstrapTextarea class so that it can be used by other components or files in the application.
Overall, this code creates a reusable BootstrapTextarea component that can be used in any React application to render a textarea input with a label and manage its state.
Step 4 – Import TextArea Component in App.js
In this step, you need to add BootstrapTextarea.js file in src/App.js file:
import React from 'react';

import '../node_modules/bootstrap/dist/css/bootstrap.min.css';

import BootstrapTextarea from './BootstrapTextarea'

function App() {

  return (
    <div className="App">
      <BootstrapTextarea />
    </div>
  );
}

export default App;
Conclusion
React-bootstrap textarea value example; In this tutorial, you have learn how to use bootstrap textarea with set value in state with react js apps.